Sometime back in 2000 or 2001 I ended up having dinner at the Odeon in Tribeca. I was there with a group of friends, eating, drinking, and laughing, perhaps celebrating a birthday. David Cross was at the table next to us, although this was pre-Arrested Development so I only knew him as the guy from Mr. Show. As a new New Yorker I wasn’t yet so jaded and was still very impressed that there was someone from TV. Right. There. I remember that our waitress was super cute, and I was very smooth asking her out: I left my business card with the check and a large tip, without, you know, actually speaking to her. Not surprisingly she never called me. Call me Mr. Smooth.
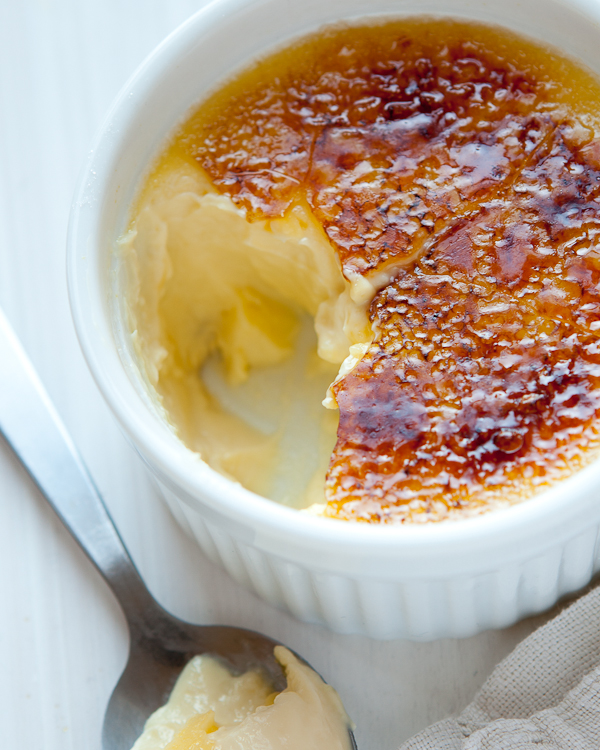
I don’t remember what my entree was that night, but I do remember that for dessert I had the creme brulee. The caramelized sugar that covered it was hard and crisp, and gave way to a tap of the spoon with a satisfying crunch. The custard was amazingly creamy, yet light and simply melted in my mouth. That dish is of my best memories from my early days in New York.
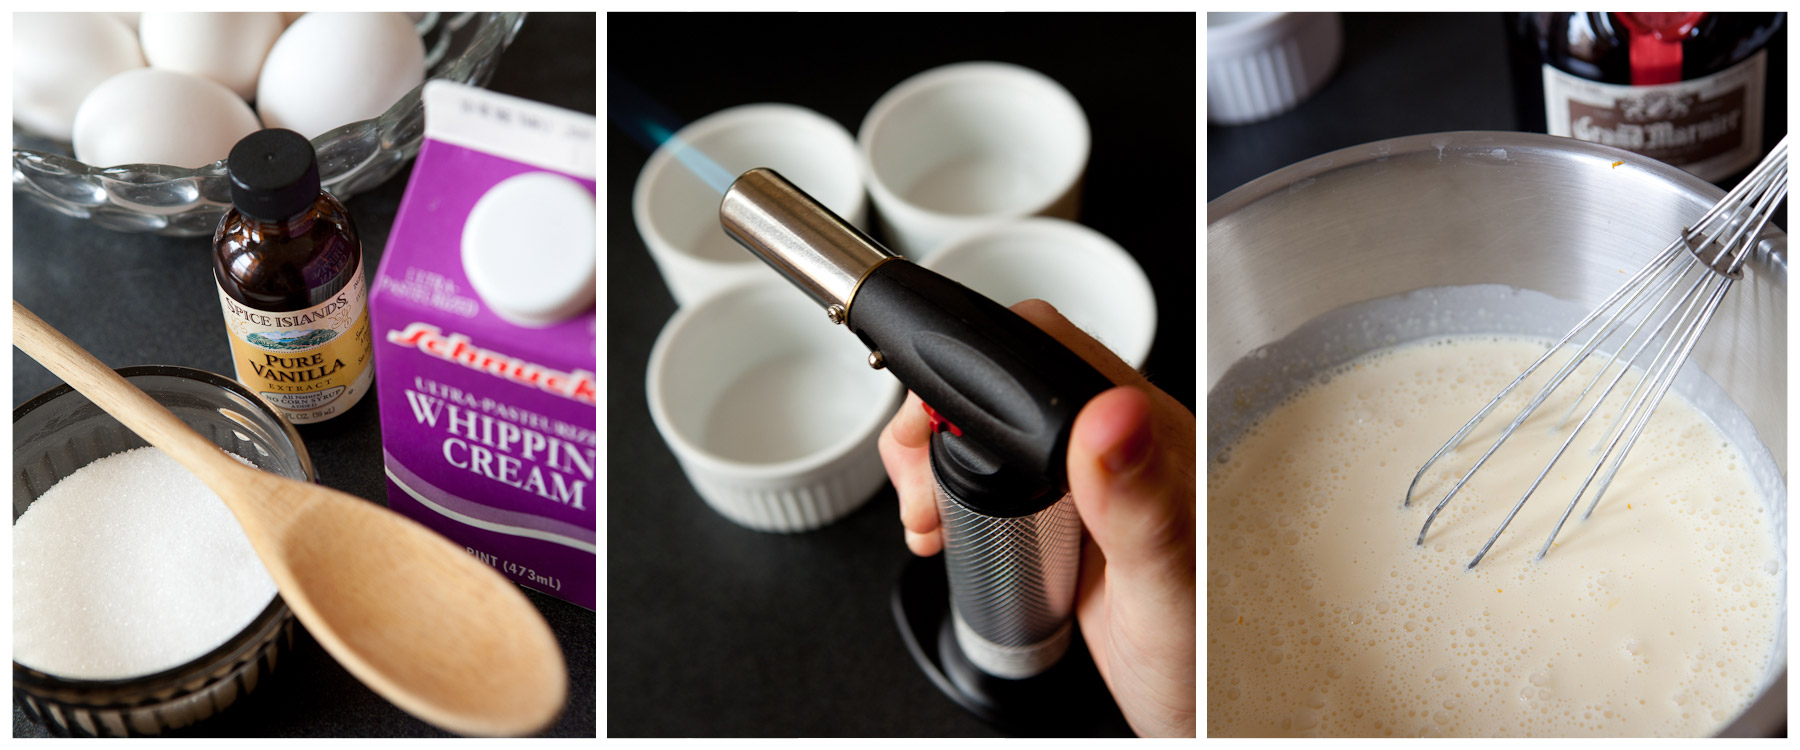
Over subsequent years I attempted to make creme brulee at home several times. I was never able to capture that same taste and consistency, whether due to my general sloppy technique, uneven cooking temperatures in my terrible New York apartment ovens, or just plain bad luck. Custards were tough, over-cooked or undercooked, and caramel tops were soggy and burnt. I was even given a fancy kitchen torch for the caramelization at one point but it didn’t help much. It is a nice little gadget although these days a small, quickstart blowtorch from Home Depot would probably do the trick a lot cheaper. But even my torch didn’t give me the results I was looking for. I did make creme brulee for Dr. Fiance on our first Valentines day together, and although dessert wasn’t perfect she decided to stay with me.
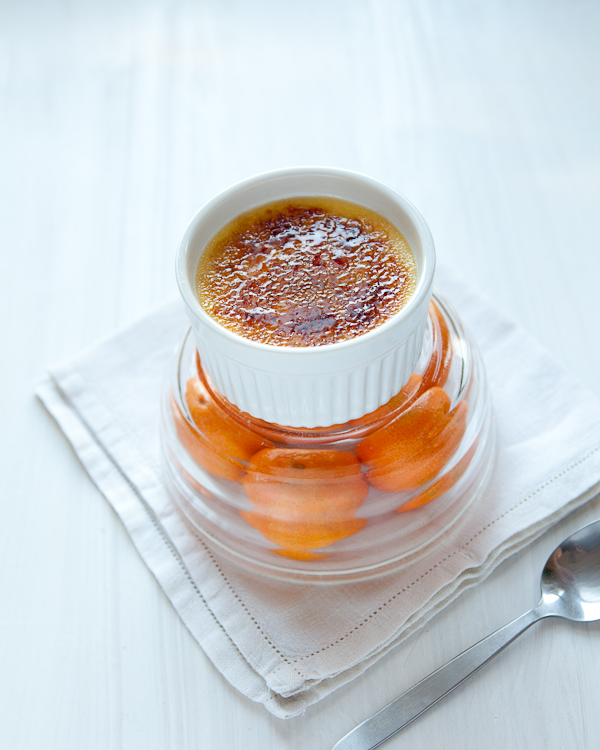
In the spirit of clementine week here at Shoot To Cook I decided that it was high time to give creme brulee another shot. Using a basic recipe, I fancified it a bit by adding in some Grand Marnier and some clementine zest. The results were stunning. I’m not sure what I did differently this time versus all of the other times I’ve attempted this dessert but this time I hit the nail on the head. It’s possible that I’ve just become more careful about following directions.
First of all, I used two full teaspoons of sugar on top of the custard for the caramelization. I think I used to worry about it getting too sweet, so I think I skimped here in the past. In order to get that nice hard surface without burning, you need a lot of sugar. Second, I was very careful when filtering out bubbles and solid matter when adding the final custard mix to the ramekins. Bubbles make the custard less smooth. They also rise to the surface and form a pocked, moon-like surface which makes it very difficult to get a smooth caramelization on top. Finally, the water bath is very important to keep the custard from cracking.
This dessert was a total success. It is insanely tasty, smooth, rich and wonderful. We devoured it after dinner last night and I couldn’t stop wondering what the hell I did differently to make this so good. Granted, it isn’t exactly healthy what with 8 eggs and a full pint of cream, but a dish like is simply a lovely little indulgence.
Creme Brulee with Grand Marnier
Ingredients
8 egg yolks
1/3 cup granulated sugar
2 cups whipping cream
1 tsp pure vanilla extract
3 Tbs of Grand Marnier
Zest of 1 or 2 Clementines
2 tsbs of additional sugar for caramelization (varies by size of your ramekin)
Method
Preheat your oven to 300 degrees. In a medium sized bowl, whisk together the egg yolks and the sugar. When the sugar has been incorporated and the mixture is smooth, add in the cream, vanilla, Grand Marnier and clementine zest. Whisk together until smooth, then let the mixture sit for about fifteen minutes to allow the clementine oils to blend with the custard.
Use a fine mesh sieve to strain out the solids and any bubbles that are still on the surface of the custard into a large measuring cup for easy pouring. Skim of any bubbles that made it through the sieve. Place four six oz ramekins in a 9×13 baking dish. Slowly pour the custard mixture into the ramekins evenly. Fill the baking dish with water until it reaches about 2/3 of the way up the side of the ramekins. Carefully (so as not to splash water on the custard) move the pan to the stove. Bake for 45-60 minutes until the edges of the custard have set but the middle is still a little jiggly. Remove from the oven (careful not to splash the now steaming hot water) and allow to cool in the water bath for at least a couple of hours, then refrigerate.
When you’re ready to serve, remove the ramekins from the fridge and add a smooth even layer of sugar onto the surface. Using a kitchen torch, melt the sugar on the surface. Move the flame in a circular motion and be careful not to burn the it. Pop the ramekins in the freezer for a couple of minutes to set the top part of the custard which may have melted slightly. Serve, preferably with a nice strong espresso on the side. Delicious!
After Action Report
I think that moving the ramekins as little as possible helped to avoid air bubbles, which is why I loaded them into the water bath pan before adding the custard. Also, I never take my baking stone out of the oven so I put the pan right on top of the stone. It’s possible that helped to regulate the heat a bit and gave me a more even texture.
Make sure to take the custard out of the oven when the center is still a little loose in the center otherwise the edges will over-cook and get tough. But! Make sure to let them cool completely in the water bath on the counter. In the past I may have rushed this step and not allowed the custard to cool completely before putting them in the fridge. I believe that the cooking process continues in the water bath while they cool, so if you pull them out too soon, they simply gel up without cooking, and then melt into a goopy mess once you take them out of the fridge.
This is a very rich dessert. I shared one with Dr. Fiance after dinner last night and it was enough for the both of us. I had another one this morning for breakfast with my coffee (since I had to photograph it after all and I wanted daylight – tough life I lead) and a whole one by myself was a bit much. Although maybe that’s just because I had it for breakfast.
A note on vanilla extract: make sure to get vanilla that does not contain corn syrup. I don’t care what those bullshit commercials from the corn growers associations say on TV, but corn syrup is not natural or healthy. Plus it tastes cheap. Go for the good stuff.


2 Comments
Ericka
December 10, 2010 at 12:31 pmOk this post is inspiring me to dust off the blowtorch. Yum. It also reminds me I need to finally get a chinoise.
Completely agree about fake vanilla. Real all the way. Chris keeps insisting real is a waste of money—Silly boy.
ShootToCook
December 10, 2010 at 12:40 pmHa, I had to look up chinoise to see what that was. I don’t have one of those, I have a very fine mesh standard kitchen sieve. Which works well. I’m thinking about making my own vanilla extract one of these days too, although attempts in the past have resulted in me getting impatient and making vanilla-flavored cocktails with half-cured vanilla vodka. Which is good too I guess.